 "StudyStudyStudy" (jesterjin)
04/22/2015 at 17:00 ē Filed to: 240z, project car
 4
4
 6
6
 "StudyStudyStudy" (jesterjin)
04/22/2015 at 17:00 ē Filed to: 240z, project car |  4 4
|  6 6 |
So some other interesting stuff from the previous owner.
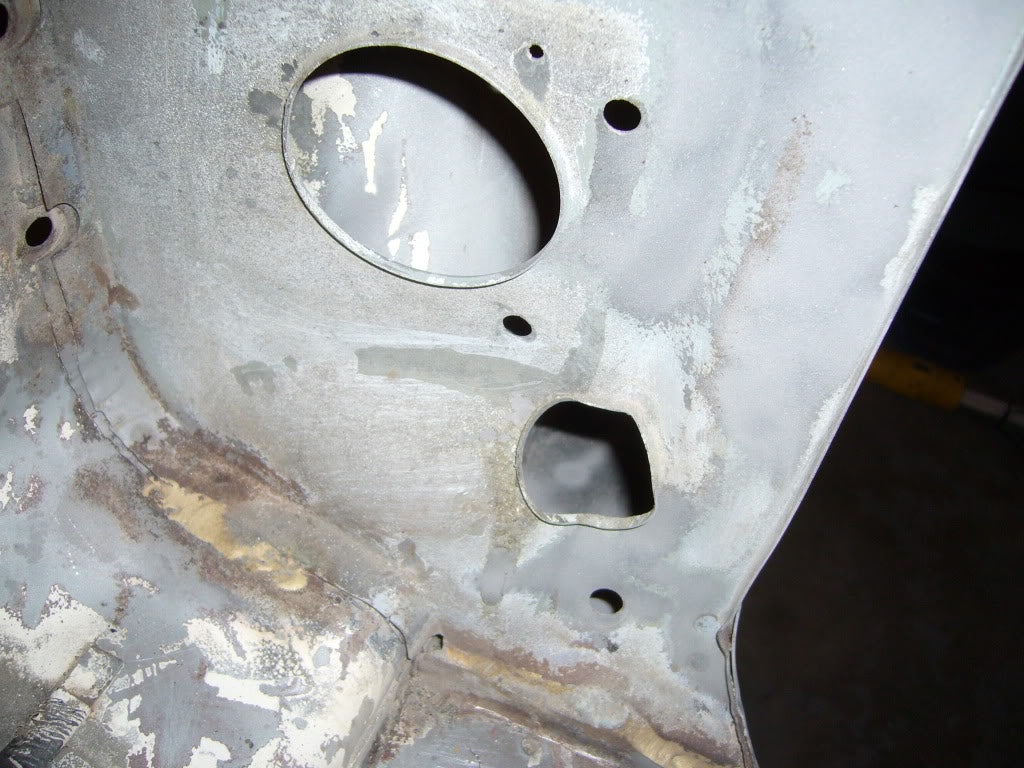
Seems like a new radiator support was brazed in at some point. So definitely some repair work at some time. Given the lack of crushed frame rail most likely a head on collision with the radiator and support taking the brunt of the damage.
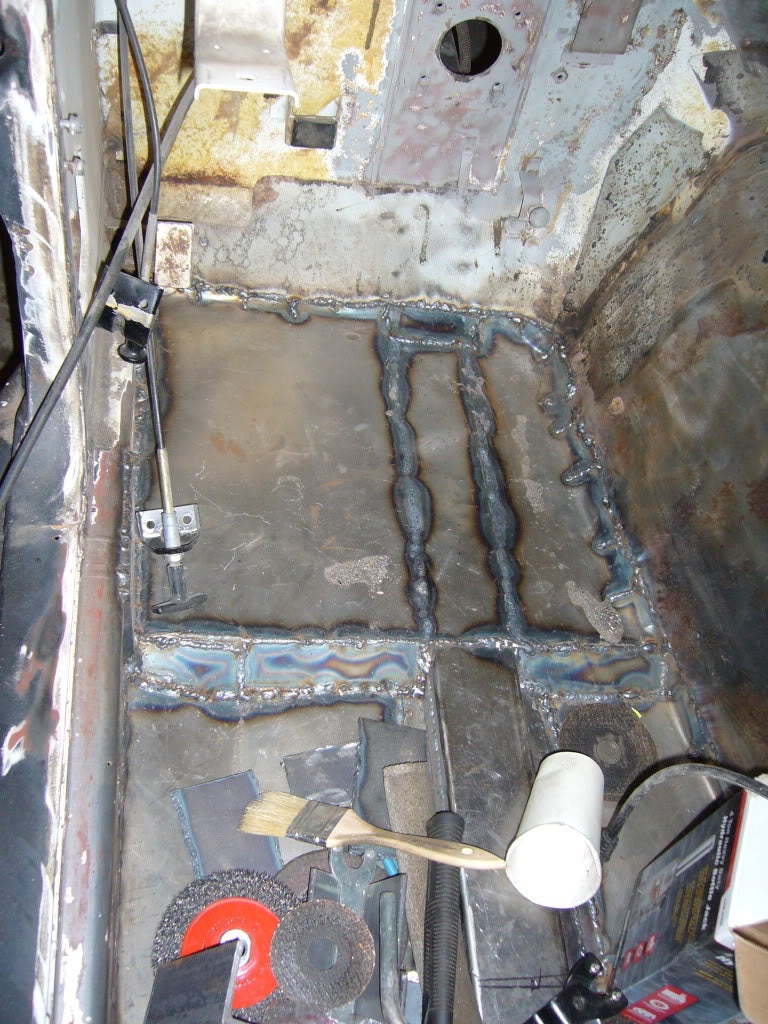
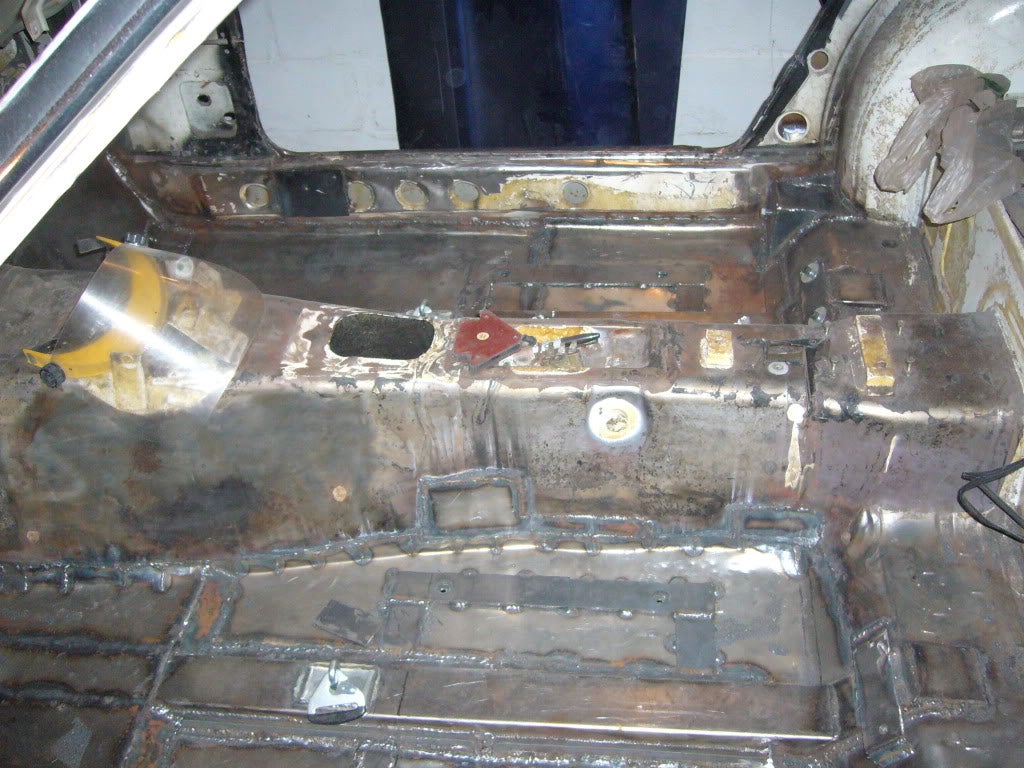
I finished up the interior and added some reinforcement for where the seats were going to bolt in.
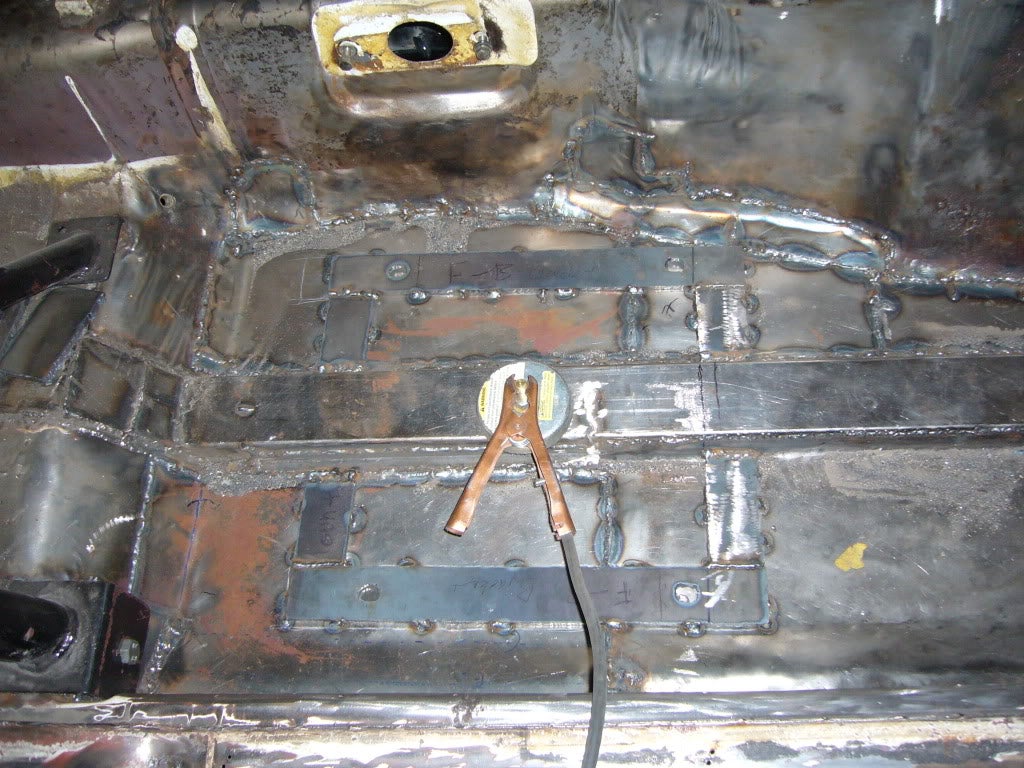
The driver side also got a similar treatment but, as it would be uncomfortable/weird to have a beam through the center of the car, I added a flat section right underneath the pedals
A friend had borrowed a plasma cutter to cut up a car, so I went over with my heavy sheet stock to cut out some patterns
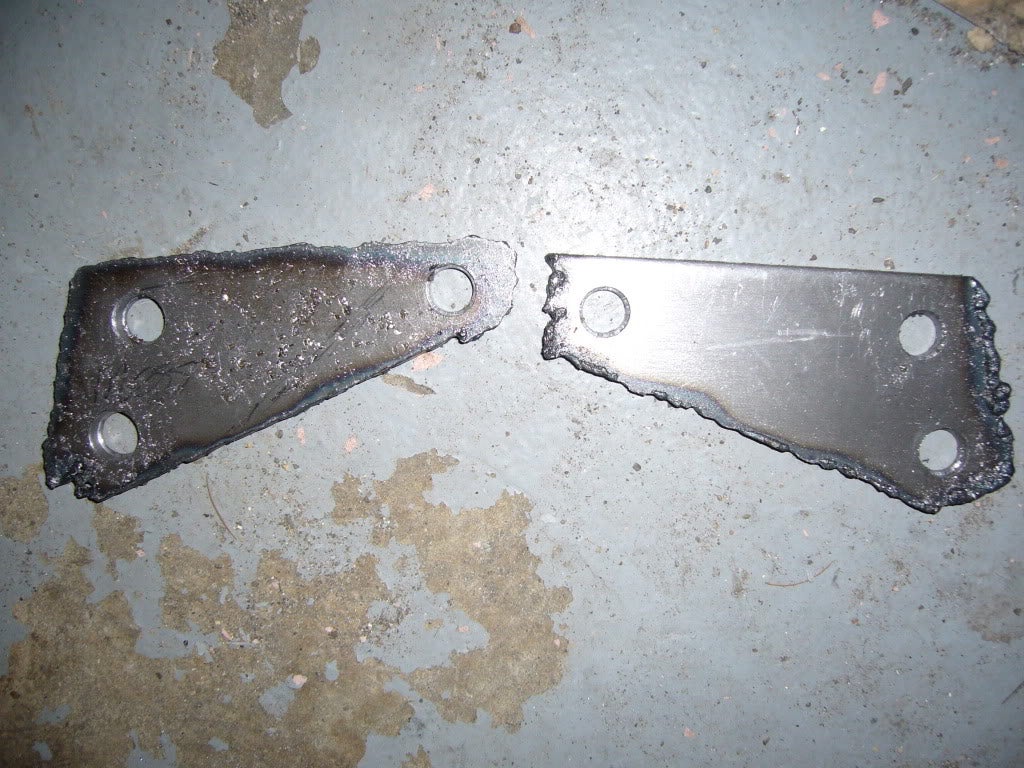
Way faster then a die grinder, but a lot of finishing work was required.
I ordered quite a bit of bar stock.
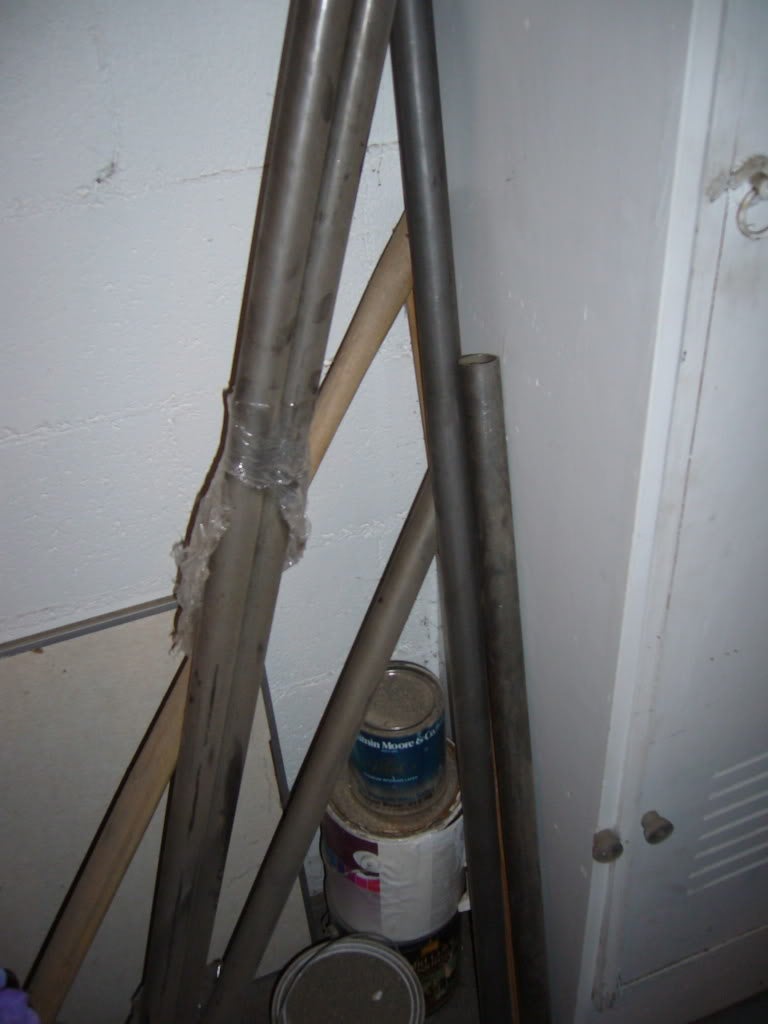
The plan was to have enough material for a couple strut braces, fix the roll bar, and make an independent harness bar.
Interestingly enough, the 240z was rallied in the african rally. I am not sure if it was due to the homologation rules, but underneath all the rear quarter windows there is a location of 3 captive nuts where the factory racing roll bar was bolted in.
So I whipped up a harness bar after finding a design online
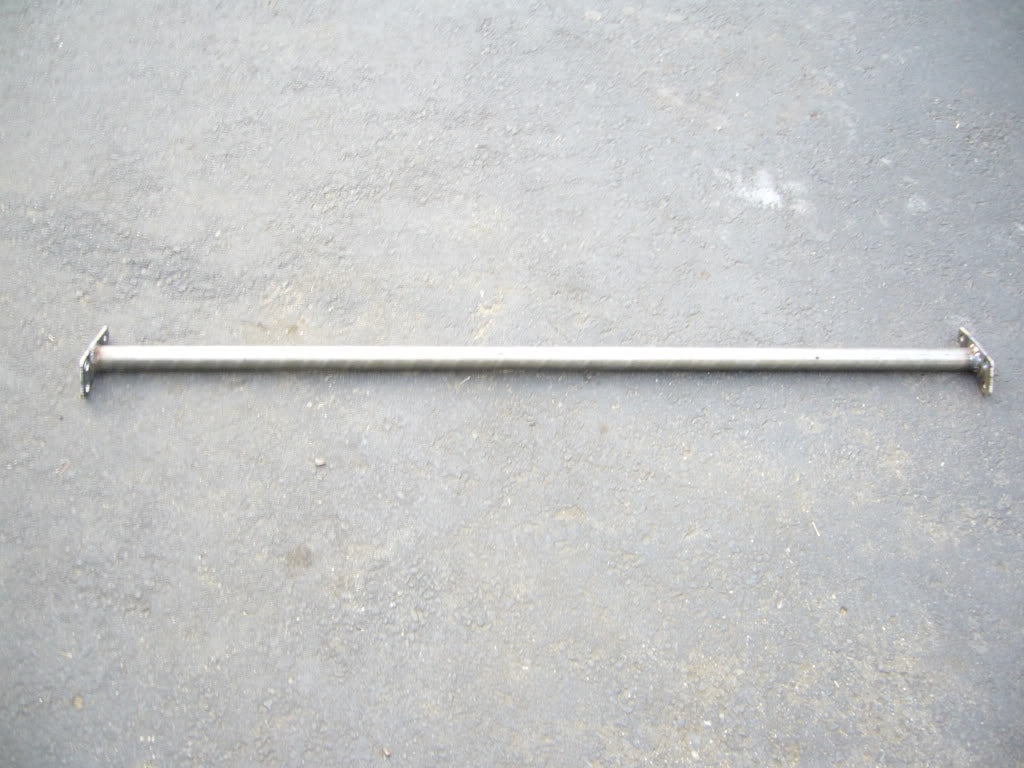
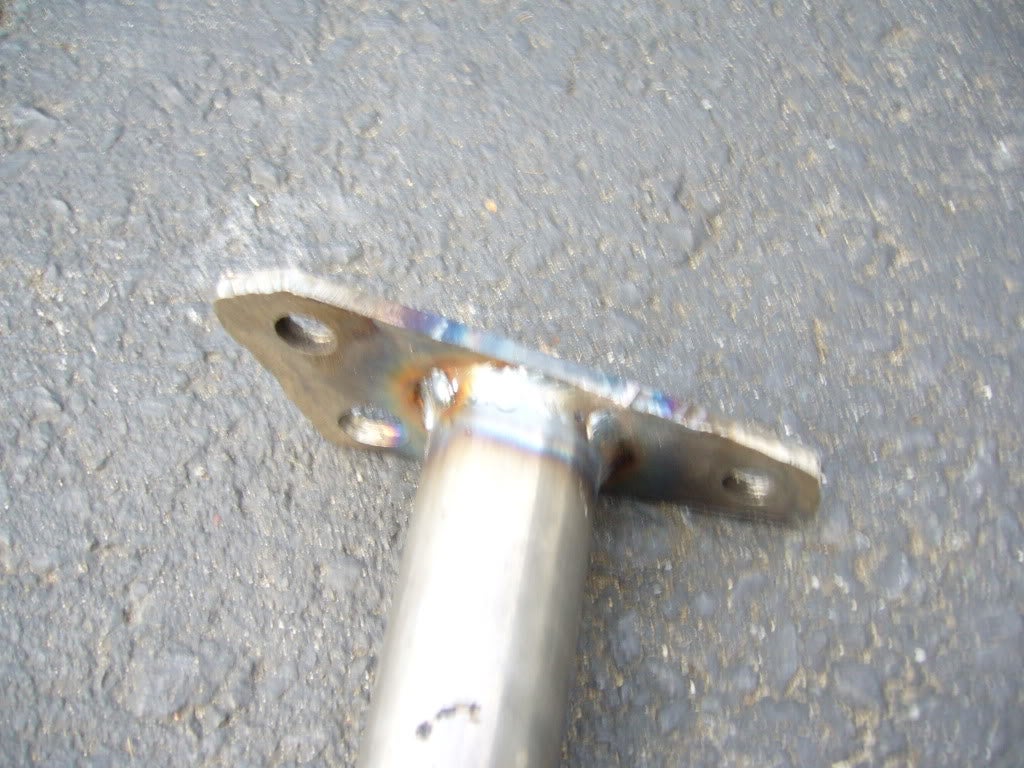
And ended up installing it. I had to adjust the holes a bit, but I think it turned out well.
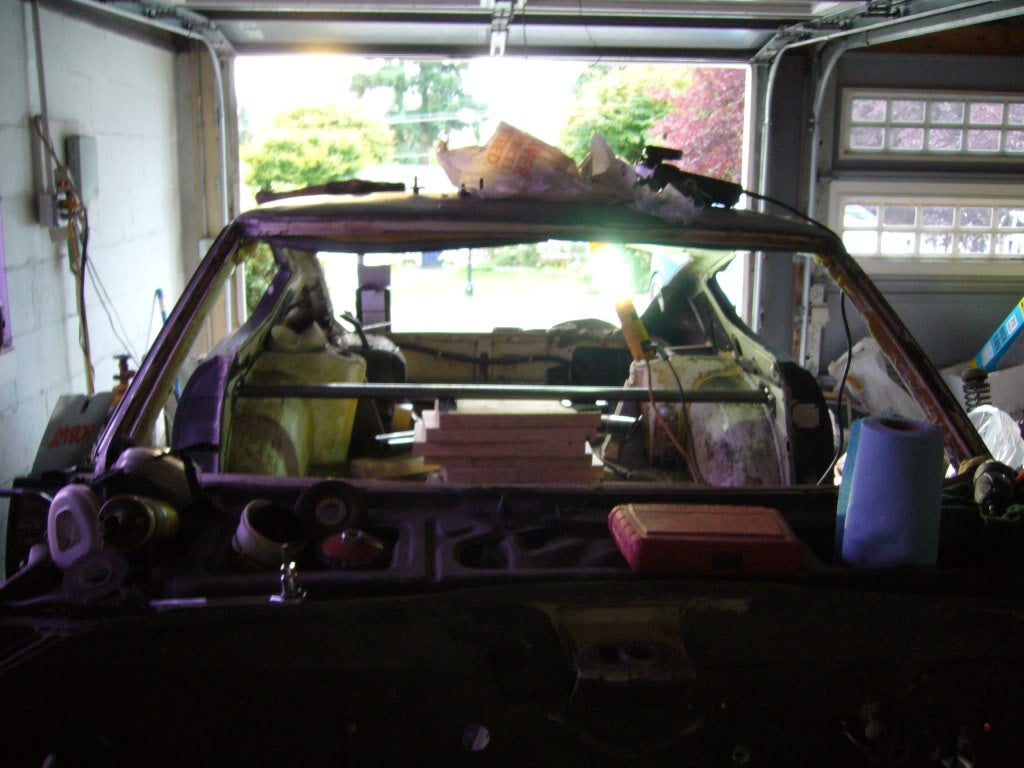
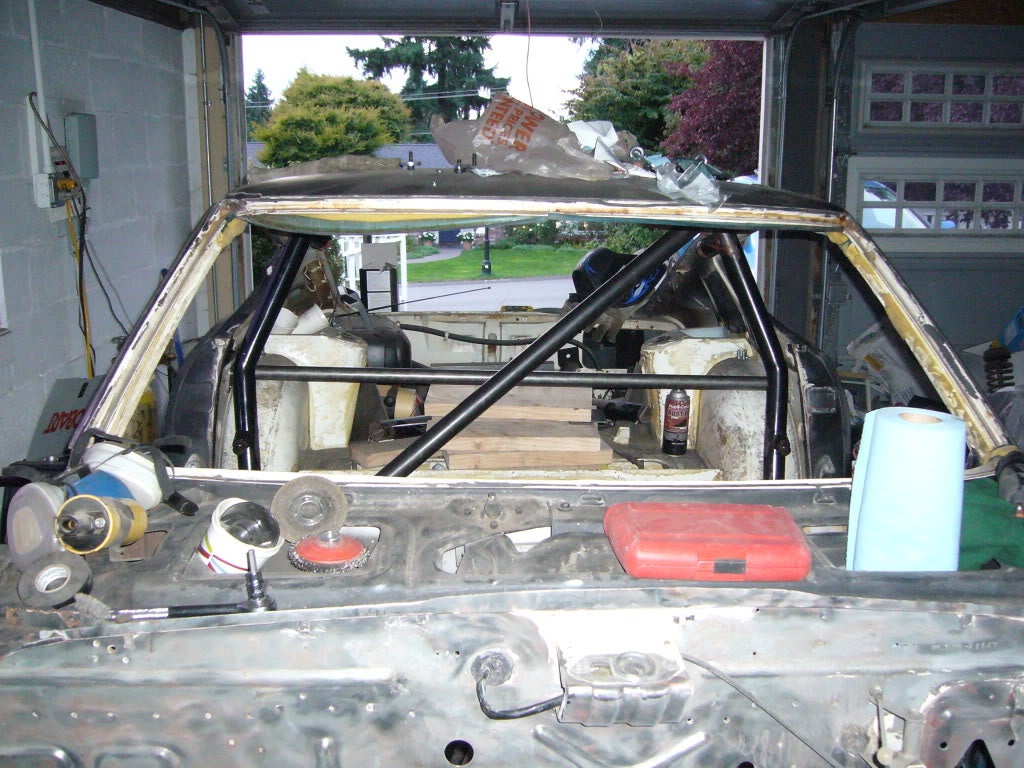
The roll bar also had some work to be done. It turns out it used to have a parallel bar right across the back. The PO of the bar had decided to cut out the parallel/seat back mount bar so he could recline his seat and had put a washer and duct tape on the end and painted over it make it look like it was capped.
That wouldnít do. I ordered up the correct thickness tubing and removed the remnants of the parallel bar and put in the diagonal brace
So onto the reinforcement. The 240z chassis is light, a problem that arrises from this is that there are places which are quite weak, combined with the common rust spots the front in not very solidly attached to the rest of the car. The front sway bar is attached with outserts onto the C-channel engine bay rail and have on many occasions pulled the nuts out when upgraded to thicker sway bars. So to address that a company called PDK came out with a beautiful strut brace system that connects both shock towers together, then to the sway bar mounting point, then back to the firewall. Unfortunately they stopped making the bracing system, but fortunately they left the instructions available for the commoner to look at. I took some cues and made my own.
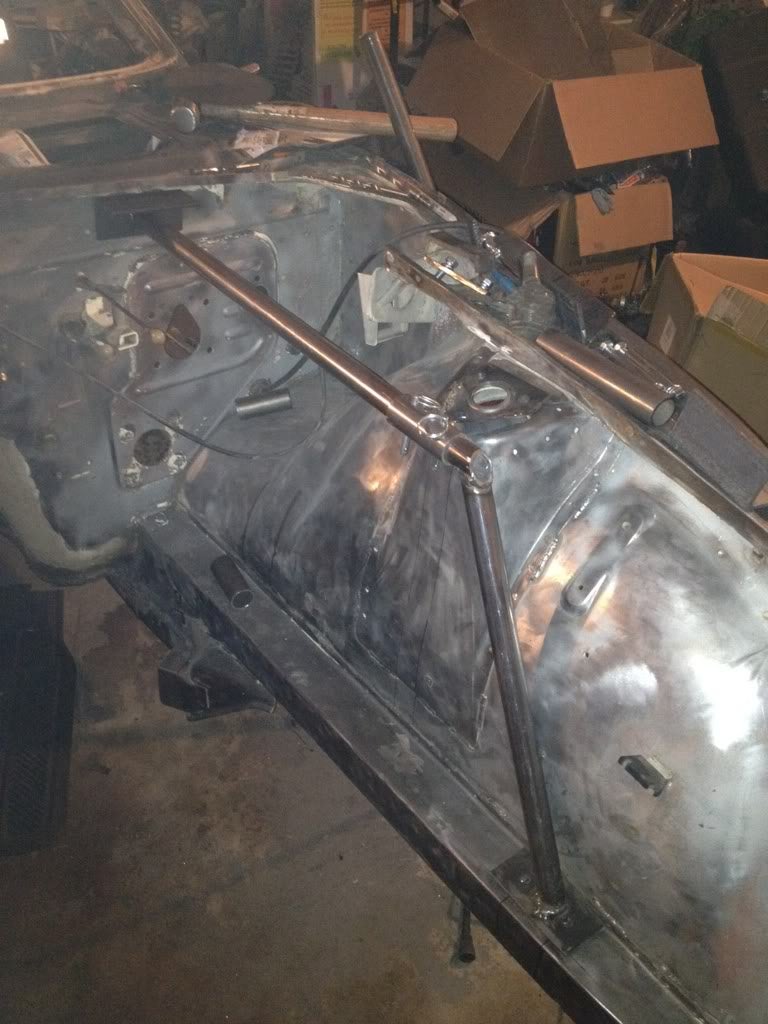
To prevent the sway bar from pulling out the nuts, one has to have a plate on top with larger hardware to hold the pulling motion of the sway bar. However if one has the plate on top of the C channel with through bolts, you would end up crushing the rail, thus you add bedding posts like so.
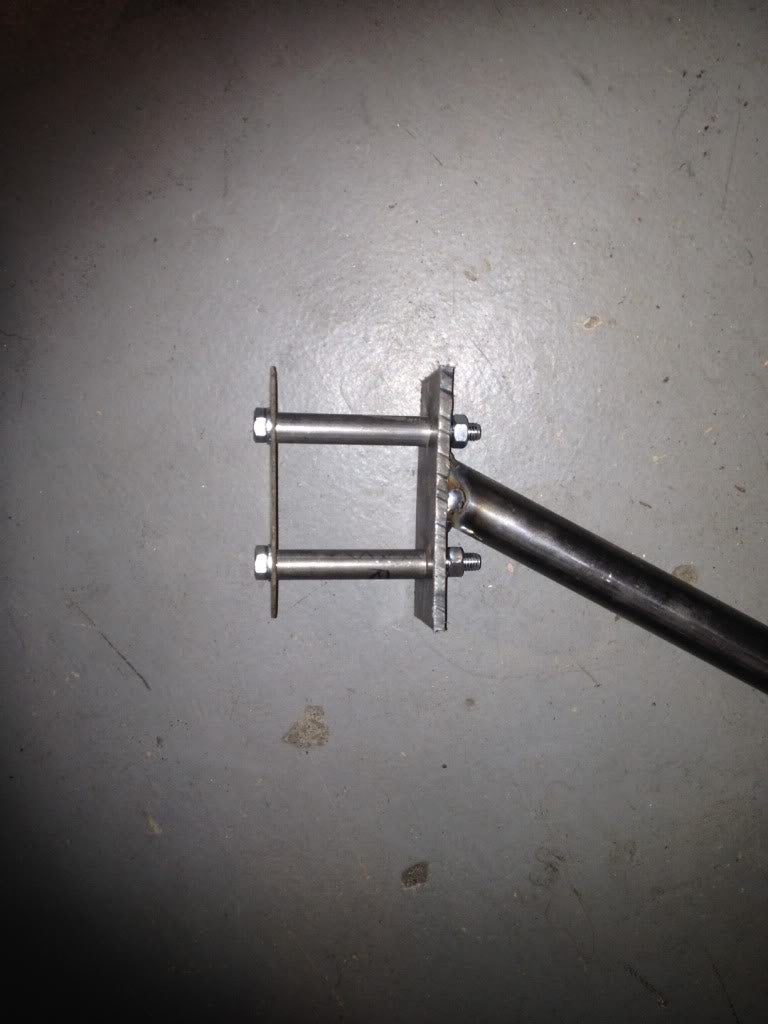
Mirror on the other side and voila just needs the brace across the center and you have a decent bracing system.
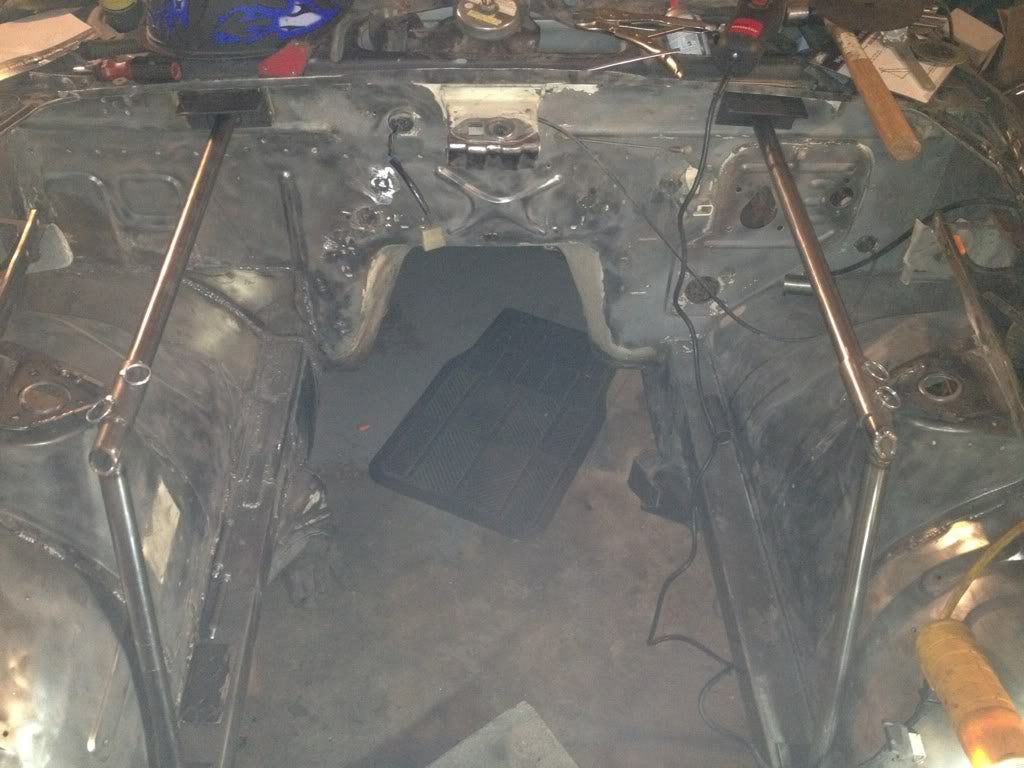
I actually tested this by standing on the lateral beams, no movement whatsoever. Quite impressive if I do say so my self :D.
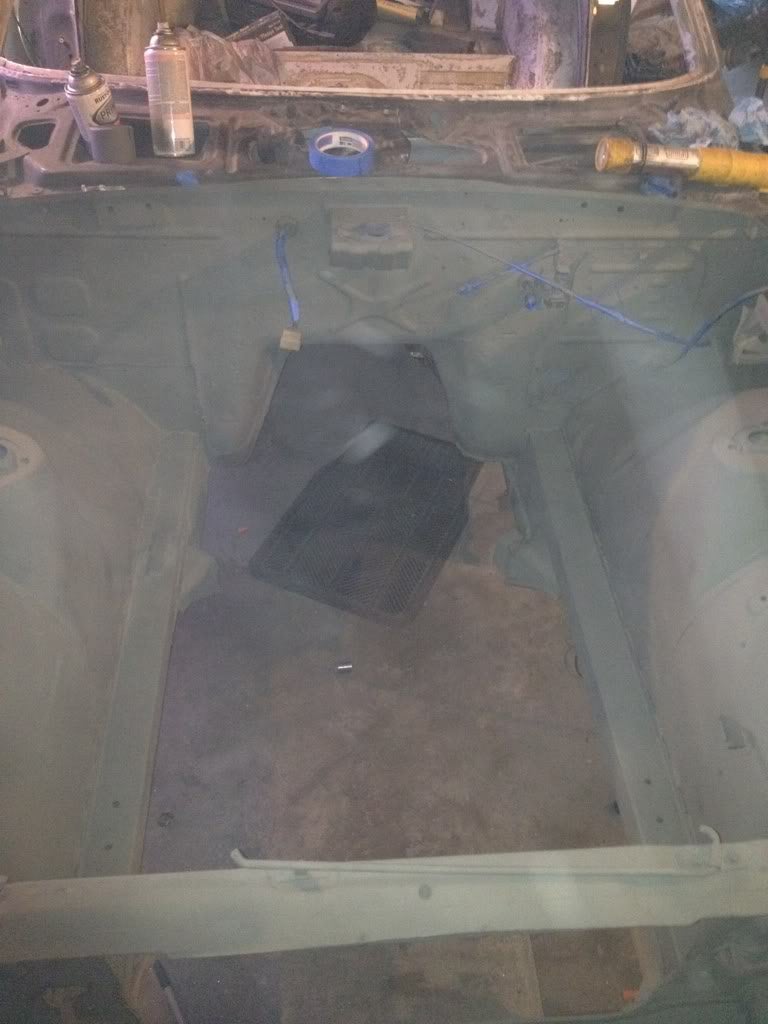
With the front finished up, I applied some etch primer to keep the front from getting rusty and moved to the rear of the car.
Lessons learned:
Learn the basics, once you have them down the world is your oyster.
Research research research. Probe and poke you can find quite a bit of information just by looking around.
Laying down paint on something you just fixed is one of lifeís great pleasures. Covering up bad repairs with paint is one of lifeís great sins.
That little spray can button presser trigger thing at the hardware store, totally worth it.
Costs:
250 - more bar stock and 3/16 steel plate and steel sheet
50 - miscellaneous hardware (hitch pins, bolts, nuts, washers)
50 - paint
50 - new tank of welding gas
Subtotal: 400
Total spent: 6265
!!! UNKNOWN CONTENT TYPE !!!
!!! UNKNOWN CONTENT TYPE !!!
 uofime
> StudyStudyStudy
04/22/2015 at 17:24 |
|
This attachment point is not ideal for preventing longitudinal chassis flex because there isn't a very good load path to the rear axle/suspension. The way it is now it is going to be flexing your firewall unless there is more bracing behind those attachment points. It would be better to have those supports attached closer to either the transmission tunnel or A-pillar.
 StudyStudyStudy
> uofime
04/22/2015 at 18:31 |
|
Ideal, no. However without a complete roll structure it is difficult to connect the front and rear suspension together with a straight and sturdy load path.
On the Z chassis, the front attaches to the cabin via a few very points and as mentioned and shown sometimes those points are quite fragile. The frame rail that runs under the floor meets up to the engine bay rail, and the fresh air box section which behind the strut (further outboard) and attaches to the firewall. The strut brace as designed adds a third point of attachment from the strut to the firewall. Ideally I would have an additional brace going to the hood latch area and a spreader plate on the back of the firewall connecting the two bars to spread the load even more ideal the longitudinal bar would be braced to the lower engine bay rail. Or even an outboard plate to connect the bar to the windshield frame, given that the windshield frame of this era is quite skinny. However this would necessitate the removal of this structure anytime one wanted to pull the engine or service certain portions. Once I end up with the final incarnation of the engine Iíll have to take a look and revise it to accommodate. At the moment letís just say that even this structure was quite troublesome in fitting and would have to be modified down the line.
 desertdog5051
> StudyStudyStudy
04/22/2015 at 20:16 |
|
Well done and well documented. Thanks.
 uofime
> StudyStudyStudy
04/22/2015 at 22:29 |
|
I understand it is difficult with packaging especially. Adding big gussets to the attachment points would help and I see you've done that.
One idea would be to cut off the horizontal links at half their length then aim them for the corners of the firewall. Then you'd add a removable cross going form that node on both sides crossing to the front of that horizontal section. then on both sides of that cross you bring links out and down to the spring buckets. Depending on packaging it would be ideal to add a link from the top rear most nodes to the frame/firewall/tunnel intersection.
I tried to add a picture but kinja won't let me
 StudyStudyStudy
> uofime
04/23/2015 at 13:01 |
|
Thatís not a bad idea. There already is a tube in that corner of sorts and that would help stiffen it. I agree Ideally I would be reinforcing the firewall and aiming for the center of the transmission tunnel. The current dilemma is if I want to keep the hood release latch or go for a hood pin arrangement.
 StudyStudyStudy
> desertdog5051
04/23/2015 at 13:02 |
|
Thank you!